Add an Image to the Image Boxes?
Click on the Image to Enlarge
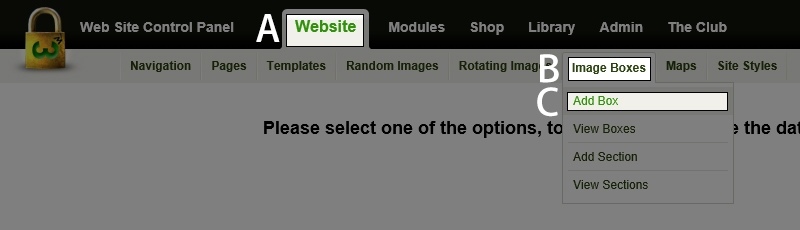
Step 1
A) In the black bar at the top of the screen click on the Website link.
B) Roll over Image Boxes.
C) Click on Add Box.
Click on the Image to Enlarge
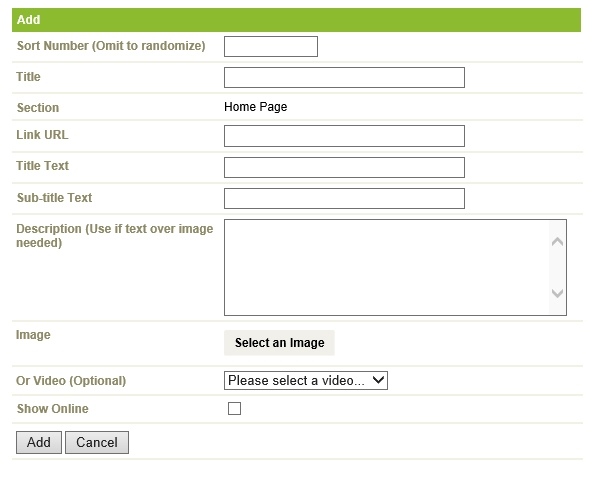
Step 2
The following fields are available to be used.
- Sort Number - the order the Image Box shows.
- Title - Title of the Image Box. This will not show on the front-end of the site.
- Section - If you have more than 1 Image Box Section, you will be able to choose which section this Image Box will be shown in.
- Link URL - This will make your image box clickable and link somewhere on the Internet if you post in an Internet Address.
- Title Text - This will show on the front-end of your Website in some big heading text.
- Sub-title Text - This will show on the front-end of your website and will display below the Title Text of your Image Box.
- Description - This should be a couple of lines of summary text of what the image box is about.
- Use Dark Text - This will use dark text if your Image Box is bright.
- Image - Upload an image for your image box to use as the main focal point!
- Show Online - Ticking this checkbox determines whether the image box is publicly view-able or not.

Click on the Image to Enlarge
Step 3
Click add once done to submit your Image Box!
Repeat this process as many times as necessary.
Back...